Create a Booking or Reservation System with EverWeb 3.4

With the release of EverWeb 3.4, you can now add Calendars and Time selection options to your contact form.
This means when visitors come to your website, they will have the option to select a date and time for things like;
- Booking a time to call you
- Scheduling a pickup date and time
- Booking a room or service
- Reserving a spot in your store or restaurant
Plus anything else you can possibly think of offering!
Get Started with a Contact Form
Let’s walk you through the process of creating a contact form to schedule a pick up date and time with the new form controls.
Your first step is to drag the Contact Forms Advanced widget from the Widgets section to your EverWeb Design Area. You will see you have the default form fields which include: Name, Email and Message.
As with any form field, you can edit or change these fields from Inspector->Widget Settings.
Note: I changed the button to a styled button near the bottom of the Advanced Contact Form Widget Settings
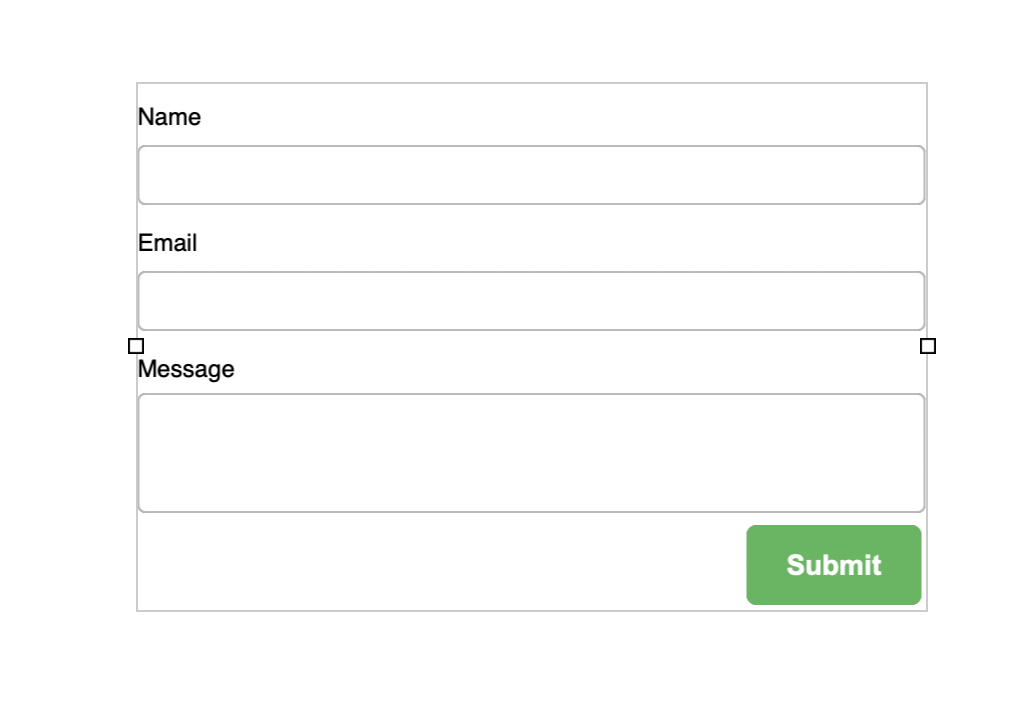
Default EverWeb Contact Form
Add Your Calendar & Time Selection Form Controls
Once your Contact Form Advanced field is added to your website, go to the Inspector->Widget Settings (the last tab) to start editing your Contact Form settings and controls.
From the Inspector we will click the ‘Add’ button under the ‘Form Controls’ list to add a new control. Then from the ‘Control Type’ drop down menu we select ‘Calendar’.
We can also edit the label for any Form Control by double clicking it in the Form Controls list. Here we changed the label to ‘Pick Up Date’.
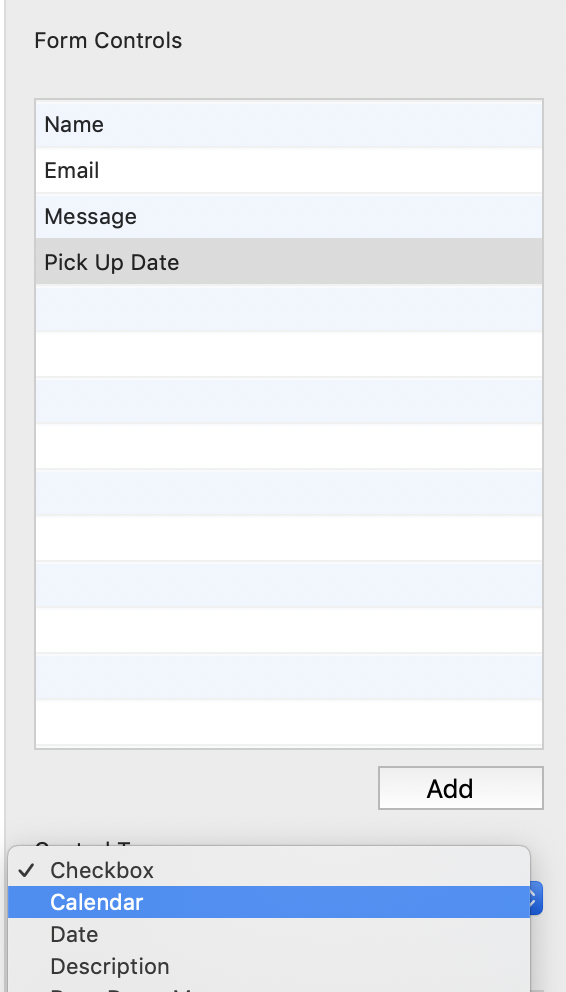
Contact Form: Add Calendar Control
Repeat these steps and add the ‘Select Time’ control as well.
Adjust Your Calendar & Time Control Settings
Once you have added your new form controls, you can now edit their settings from the ‘Option List’. There are many options you can adjust from here for each control.
For the Calendar control you can adjust how the date is displayed to your visitor. Depending on your country, you may want to change how the date is displayed and submitted to you.
Next, you can adjust the earliest and latest date as well as adjust how many years to show in the ‘Year’ drop down menu presented to your visitors.
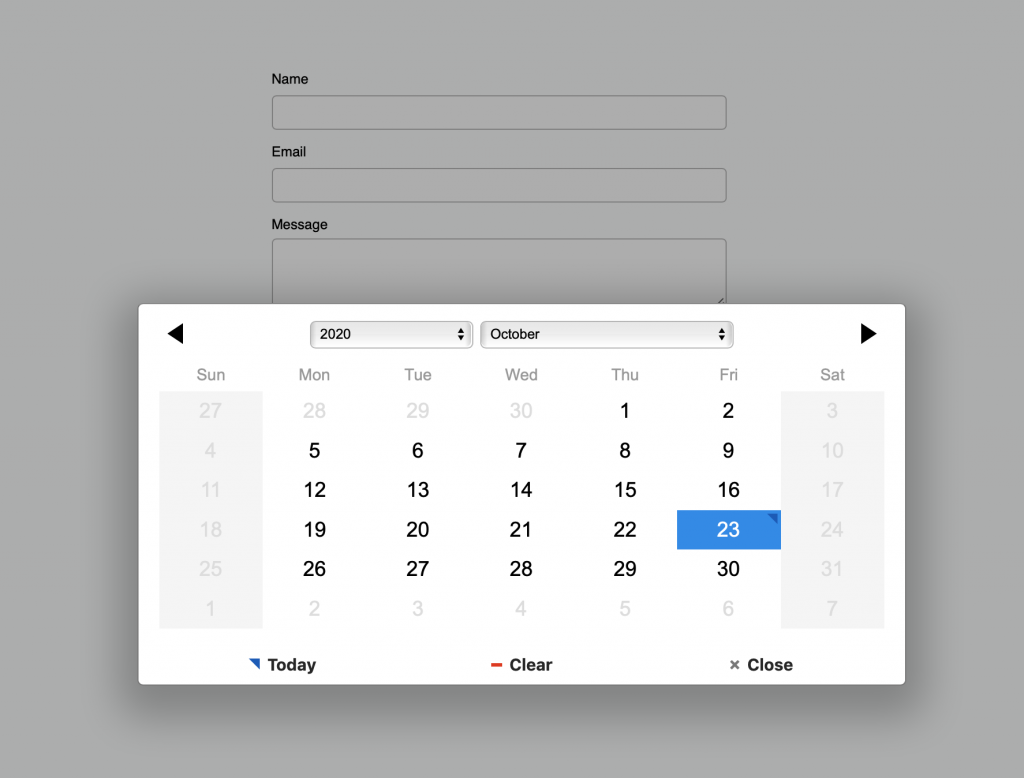
Next, you can block off specific days of the week. So in our example, we blocked of Saturday and Sunday since we don’t want our visitors to be able to schedule a pick up over the weekend.
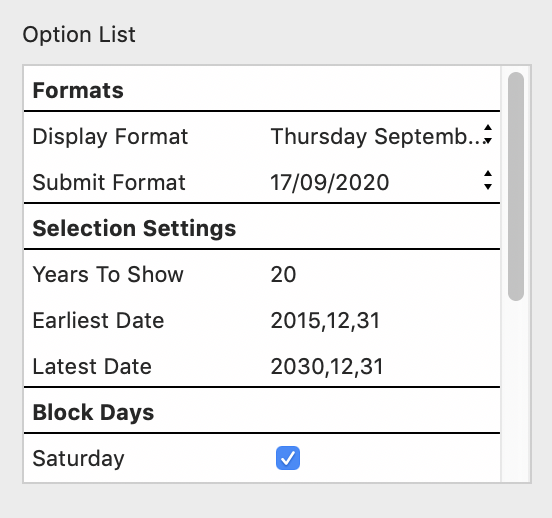
Contact Form: Calendar Options
For the Select Time control, we can also adjust various settings. Just like the Calendar control we can adjust how our time is displayed to our visitor. The drop down menu provides various time format options you can select from.
The ‘List View Format’ is how the available times will be displayed to your visitor. You can enter time intervals and a start and end time. This makes it easy to only allow time slots within business hours for example.
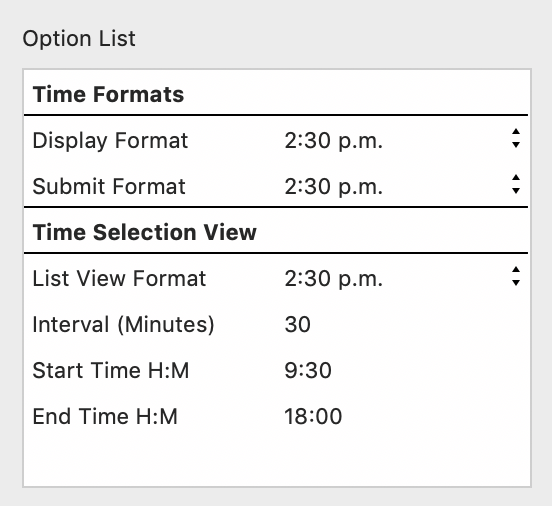
Contact Form: Select Time Options
Preview or Publish to See How it Works
Once you have everything set up properly you can now preview or publish your website in your browser to see how the Calendar and Time Selection controls will work for your users.
Below is how the default calendar control will look with our weekend blocked off.
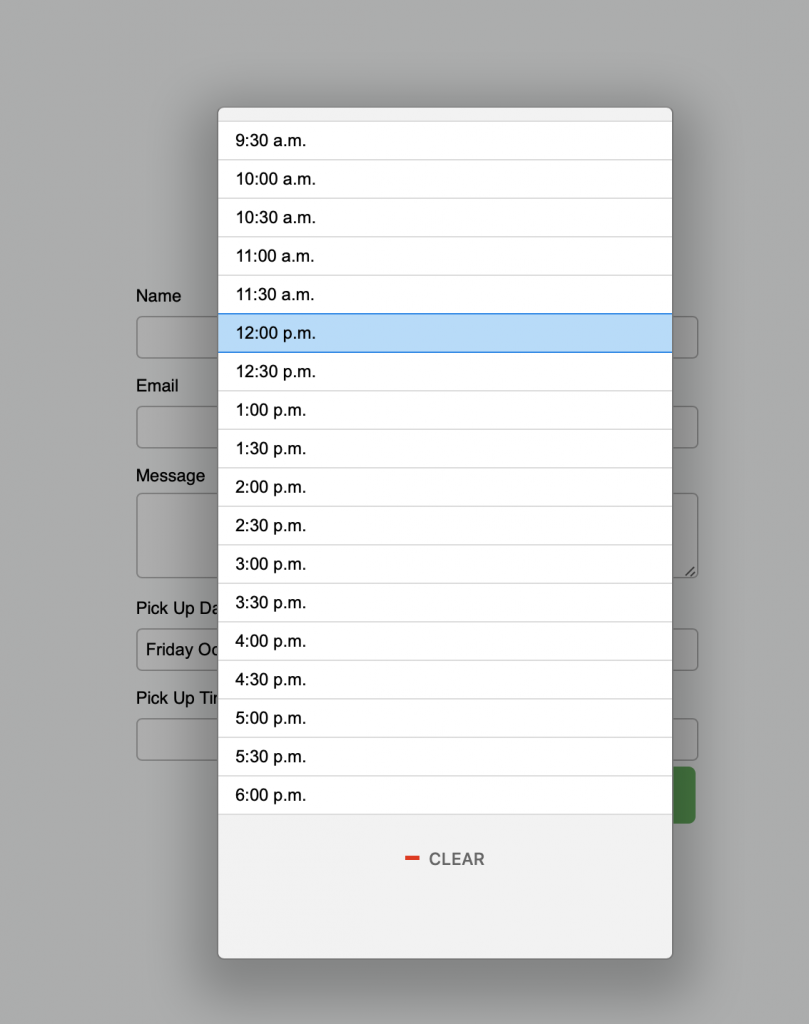
And here is how our time selection control works for our visitors.
Even More Customization Options
What is shown above is just the surface of what is possible with these new Form Controls. The Contact Forms Advanced widget also provides full customization of fonts to match your website design. You get built in Contact Form styles including; Classic, Modern and Transparent styles.
Additionally you can easily send a confirmation email to your visitors after they have filled out the form or redirect them to another page on your website.
With the Contact Form Enhanced Add-on you will see all your form submissions in your EverWeb client area with the ability to sort, search and export all form submissions.
If you have used the new Contact Form features, please share your website below. We’d love to see what you’ve done with them.

