How to Justify Text in EverWeb Without Any Widgets
Many web designers like the justified text look on their website. For EverWeb users, this is a feature that has been lacking since version 1.0
Fortunately, there is now an extremely easy way to justify any text on your EverWeb website by making one small adjustment to your textboxes and including a few lines of code in your Site Wide Head Code Field. The implementation is extremely easy and straightforward, but the results will only appear when you preview or publish your website.
This strategy requires EverWeb 2.9 or later and uses the new Class Name field under the Advanced Options section in Inspector->Shape Options. Step by step instructions are below to walk you through the process. It should take you no more than 2 minutes to implement this feature.
So let’s being and see how easy it really is to justify text in EverWeb.
- Go to the File menu and select ‘Edit Publishing Settings’
- Look for the Head Code Field and enter this code
<style>.justify {text-align:justify !important;} .justify p {text-align:justify !important;}</style>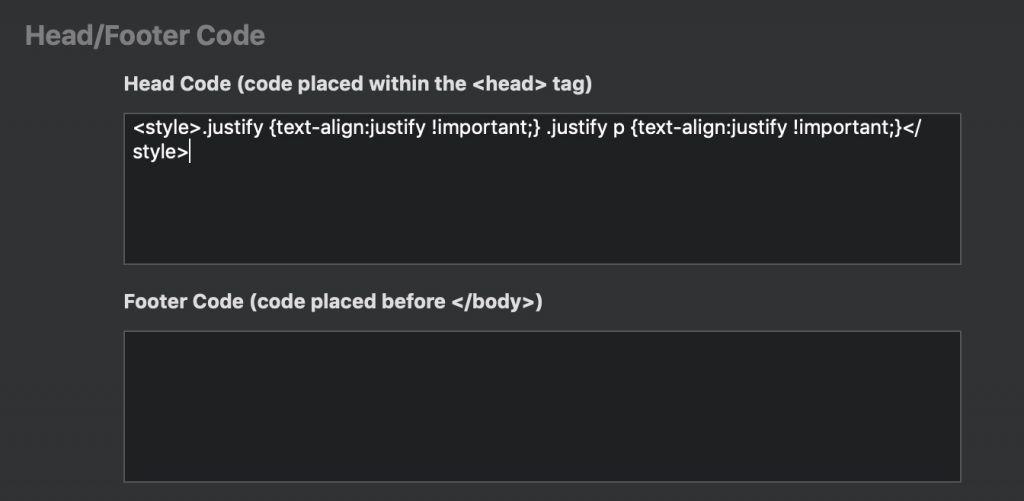
- Next go back to any page that has your TextBoxes.
- Select the TextBoxes you want to Justify the text and from the Inspector->Text Settings make sure the current text alignment is set to left aligned text (this is the default).
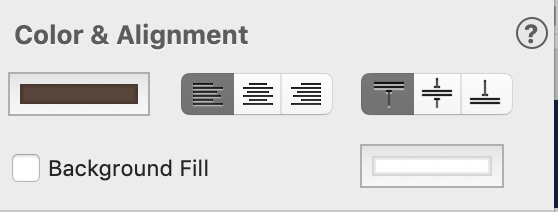
Set the text alignment to left align for all your textboxes. This is the default setting.
- Now with the same textboxes selected, click the ‘Shape Options’ tab in the Inspector (the second tab) and go to the bottom where it says ‘Advanced Options’
- Click the little arrow next to ‘Advanced Options’ and enter justify into the field below as shown here;
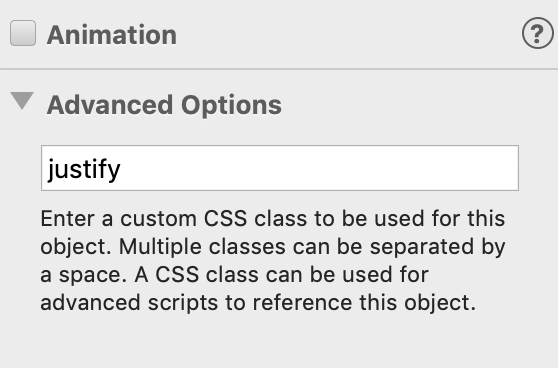
Enter justify into the CSS Class Name field in the Inspector for all the textboxes you want to justify
Now you can preview or publish your website and your text in these fields will be justified instead of left aligned. The images below show the difference for one textbox. Remember, you now only need to enter justify in the Advanced Options field for any Shape or Textbox on your website to justify it.

Left aligned in text in EverWeb

Justified Text in EverWeb
Troubleshooting Justified Text in EverWeb
The above instructions for justified text in EverWeb should be straightforward but if you run into any problems when previewing or publishing your website, try the following trouble shooting techniques;
- Check to make sure your code is entered properly in the Site Wide Head Code field. It is very important the code is entered exactly as show above with the proper style tags and justify keyword. Any missing character or spelling mistake will break the code
- Remember to have your textboxes set to Left Align from the inspector. If your text is publishing centered or right aligned, this will be the issue you need to fix
- Make sure all the textboxes you want to justify have the justify tag entered in the Advanced Options fields in the Inspector
- If you don’t see the Advanced Options field it is because you are using a version of EverWeb before the 2.9 release which did not have this feature
With the new CSS Class Name field you can now do even more in EverWeb and this is just a small example of the possibilities.
I hope this tutorial helps you. Let me know below if you want to see more tutorials like this one!


There must be a flaw in the code that is provided. I have been trying for nearly two years to get this to work–justifying text, that is. I have followed all of the directions carefully and even tried cleaning up the code using a text editor.